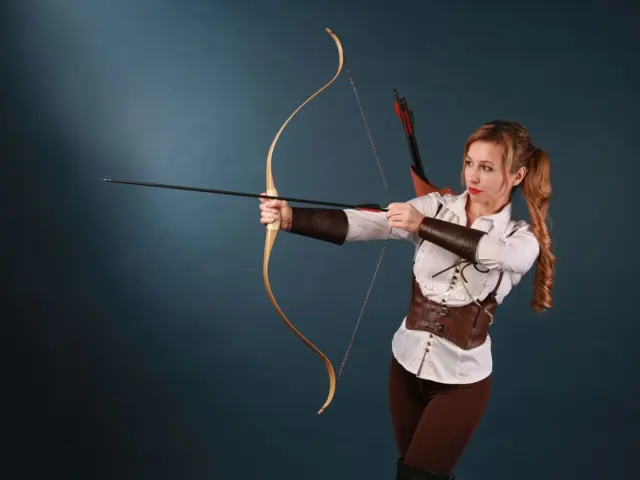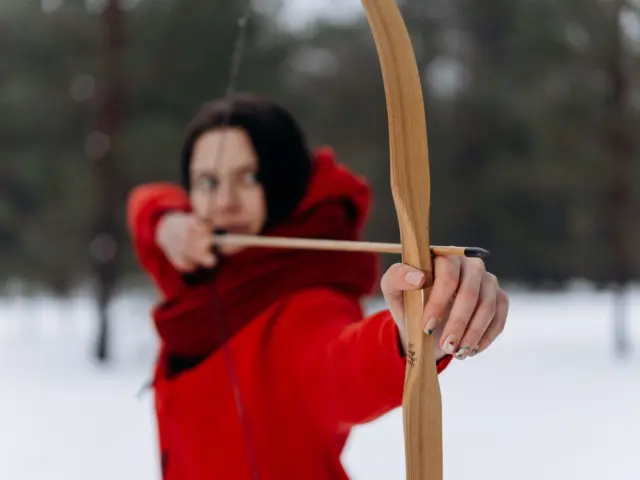
Worried your draw feels shaky or too heavy? Here is how to draw a bow: raise your bow arm, then pull your elbow back in one fluid motion, driven by your back, to a consistent anchor.
The draw is one link in the wider chain of archery techniques, so it helps to see how it connects to the steps around it.
| Item | Value |
|---|---|
| Foot position | Shoulder-width apart, weight even |
| String hook | Middle three fingers, one above the nocking point and two below |
| Bow arm height | Shoulder level, toward the target |
| Anchor position | String at the tip of the nose, top finger under the chin |
| Hold at full draw | A few seconds, then ease the string forward slowly |
These positions come from a Human Kinetics archery excerpt. Coaching advice can differ and details can change, so check the source before you rely on them.
Practise the draw without an arrow first
The best way to learn the basic T-form shot is to mimic it without shooting an arrow, as the Human Kinetics excerpt explains. Mimicking lets you make the motions habitual and get used to your equipment.
It also keeps you safe. You can check that you are handling the bow and arrow properly and are not overdrawing.
You might be tempted to skip this step. The same source notes that some world-class archers mimic their shots as a warm-up before their sessions, so it is worth making a regular habit.
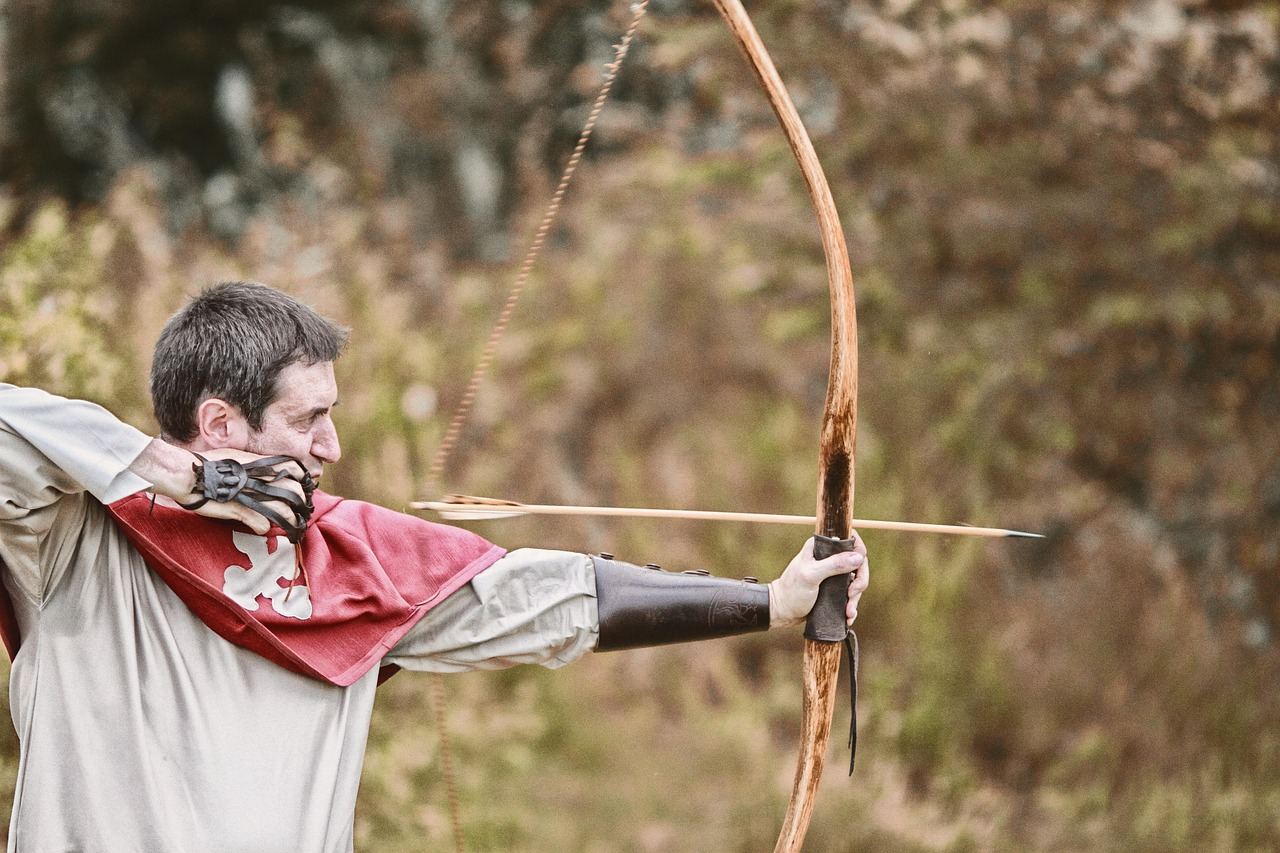
Set up your stance and string hand
A smooth draw starts from the ground, and a balanced archery stance is the base it sits on. If your feet and shoulders are out of line, every later step has to compensate.
For the basic T-form shot, the source describes this set-up:
- Stand with your bow arm side toward the target, feet shoulder-width apart and weight even.
- Imagine a line through the toes of both feet. It should continue toward your target.
- Keep your shoulders square over your feet and your head square on your shoulders.
- Avoid twisting your trunk.
Other coaches suggest slightly different widths. A beginner compound guide from Nock On Archery says to line up your feet about hip-width apart, so treat the exact width as something to fine-tune.
Hook the string
Form a hook with the middle three fingers of your string hand. Place the string in the end joint of those fingers, with one finger above the nocking point and two below it, as the Human Kinetics excerpt describes.
Keep the bow hand relaxed
Your bow hand should do as little work as possible. The Nock On guide advises letting the bow sit naturally in a relaxed hand, with no squeezing.
It also warns that many new archers tend to grip the bow tighter as they draw. Your grip should feel the same at full draw as it did at the start.
How to draw a bow step by step
Once you are set, the draw itself is one connected movement rather than a series of jerks. Follow this order:
- Raise and extend your bow arm at shoulder level toward the target, keeping your string hand in place on the bowstring.
- Look over your front shoulder.
- Start the pull by moving your string-side shoulder blade toward your spine, and draw by pulling your elbow back in one fluid motion.
- Keep your front shoulder down and relaxed, with the bow arm straight but not locked.
- Continue drawing to your anchor position.
- Rotate your bow elbow down and out, hold for a few seconds, then slowly ease the string forward to the relaxed position.
The source also says you need enough muscular force to overcome the bow’s draw weight. If the draw feels like a struggle, the weight is probably the problem, not your technique.
Why back tension matters
Starting the draw by rotating your shoulder blade and moving your elbow back gives you back tension. According to the Human Kinetics excerpt, that helps you develop consistent form and resist tiring.
Bending the string arm first and then using your back is a common mistake. Think about your back muscles first, then move the elbow back to draw the string.
Draw smoothly, not fast
When the bow feels heavy, it is tempting to yank it back. Improve Your Archery warns that drawing too fast can be harmful to your bow limbs.
It adds that a rushed draw raises your heart rate, which makes it more difficult to aim. A steady pace protects both your gear and your sight picture.
Never dry-fire
Never release a bowstring unless there is an arrow in the bow, because dry-firing might damage the bow. That rule is why you ease the string forward by hand when you mimic the shot.
Where to draw to: finding your anchor
Drawing to your ear is a common instruction, but Improve Your Archery says you shouldn’t draw to your ear if you want to be accurate. You draw to a specific point on your face instead.
The Human Kinetics excerpt describes the anchor position as the place where the string touches the tip of your nose and your top finger touches under the side of your chin. It calls this the safest anchor position for a beginning archer.
Styles differ. Recurve archers tend to anchor below the chin, while traditional archers often anchor on the cheek. For a deeper look at fixing the spot, read our guide to the archery anchor point, because without a consistent anchor it is near impossible to shoot accurately.
Common draw mistakes and quick fixes
Most draw problems come from a few repeat habits. Check yourself against this list, ideally with a friend filming you from behind.
- Bow elbow turns in toward the string path: make sure your bow hand is directly behind the bow handle, then rotate your forearm down and out.
- String elbow bends first: think of your back muscles first, then move your elbow back.
- Front shoulder shrugs up: keep it down and relaxed as you draw.
- Grip tightens during the draw: keep the bow hand relaxed so it feels the same at full draw.
- Draw is rushed: slow down so the movement stays fluid and your limbs are not stressed.
Fix one item per practice session. Trying to change everything at once usually makes the draw worse.
Draw weight and compound bows
If you struggle to reach full draw smoothly, Nock On Archery says you might be fighting too much draw weight. It adds that you shouldn’t be afraid to lower the weight initially, so you build good form instead of habits you have to unlearn.
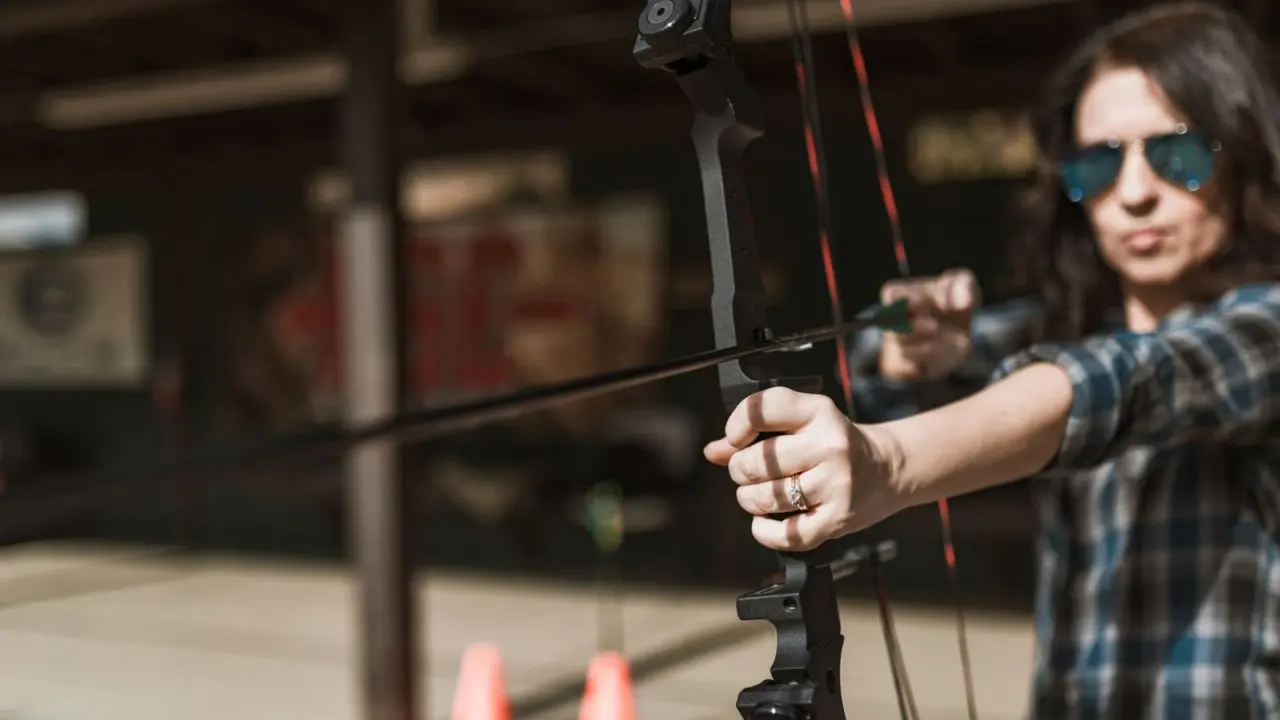
Compound archers using a release need extra care. Improve Your Archery advises that you don’t draw directly to your face, because an accidental discharge could send your hand back into it.
Instead, wait until you are at full draw and feel the let-off, then move your hand toward your anchor point.
Frequently asked questions
How far should I draw a bow?
Show answer
Draw to your anchor point, not simply to your ear. The anchor point is a specific, repeatable spot on your face, and holding it consistently is what lets you aim accurately.
Should I draw with my arm or my back?
Show answer
Use your back. Move the string-side shoulder blade toward your spine and pull your elbow back in one fluid motion, which gives you back tension.
Can I practise drawing without an arrow?
Show answer
Yes, and it is recommended. Mimic the full shot and ease the string forward by hand, but never release the string without an arrow in the bow.
What if my bow feels too heavy to draw smoothly?
Show answer
You may be fighting too much draw weight. Lowering the weight at first lets you learn good form without straining.