
Your arrows land in different places and you can’t tell why. A consistent archery anchor point is usually the answer: pull to the same spot on your face every shot, using hand, string and nose contact you can feel.
Anchoring is one link in the shot sequence, and the archery techniques hub shows how it fits with the other steps.
| Item | Value |
|---|---|
| Components of a repeatable anchor | Three: release-to-hand, hand-to-face and string-to-face contact |
| String contact point one pro recommends | The tip of the nose |
| Draw-length error that can cause significant issues | ½ inch |
| Peep size said to suit most moderate sights | ¼-inch |
The figures come from Levi Morgan’s July 2017 Bowhunter article and the Whitetail Properties bowhunting accuracy guide. They can change, so check the source before you rely on them.
What an archery anchor point actually is
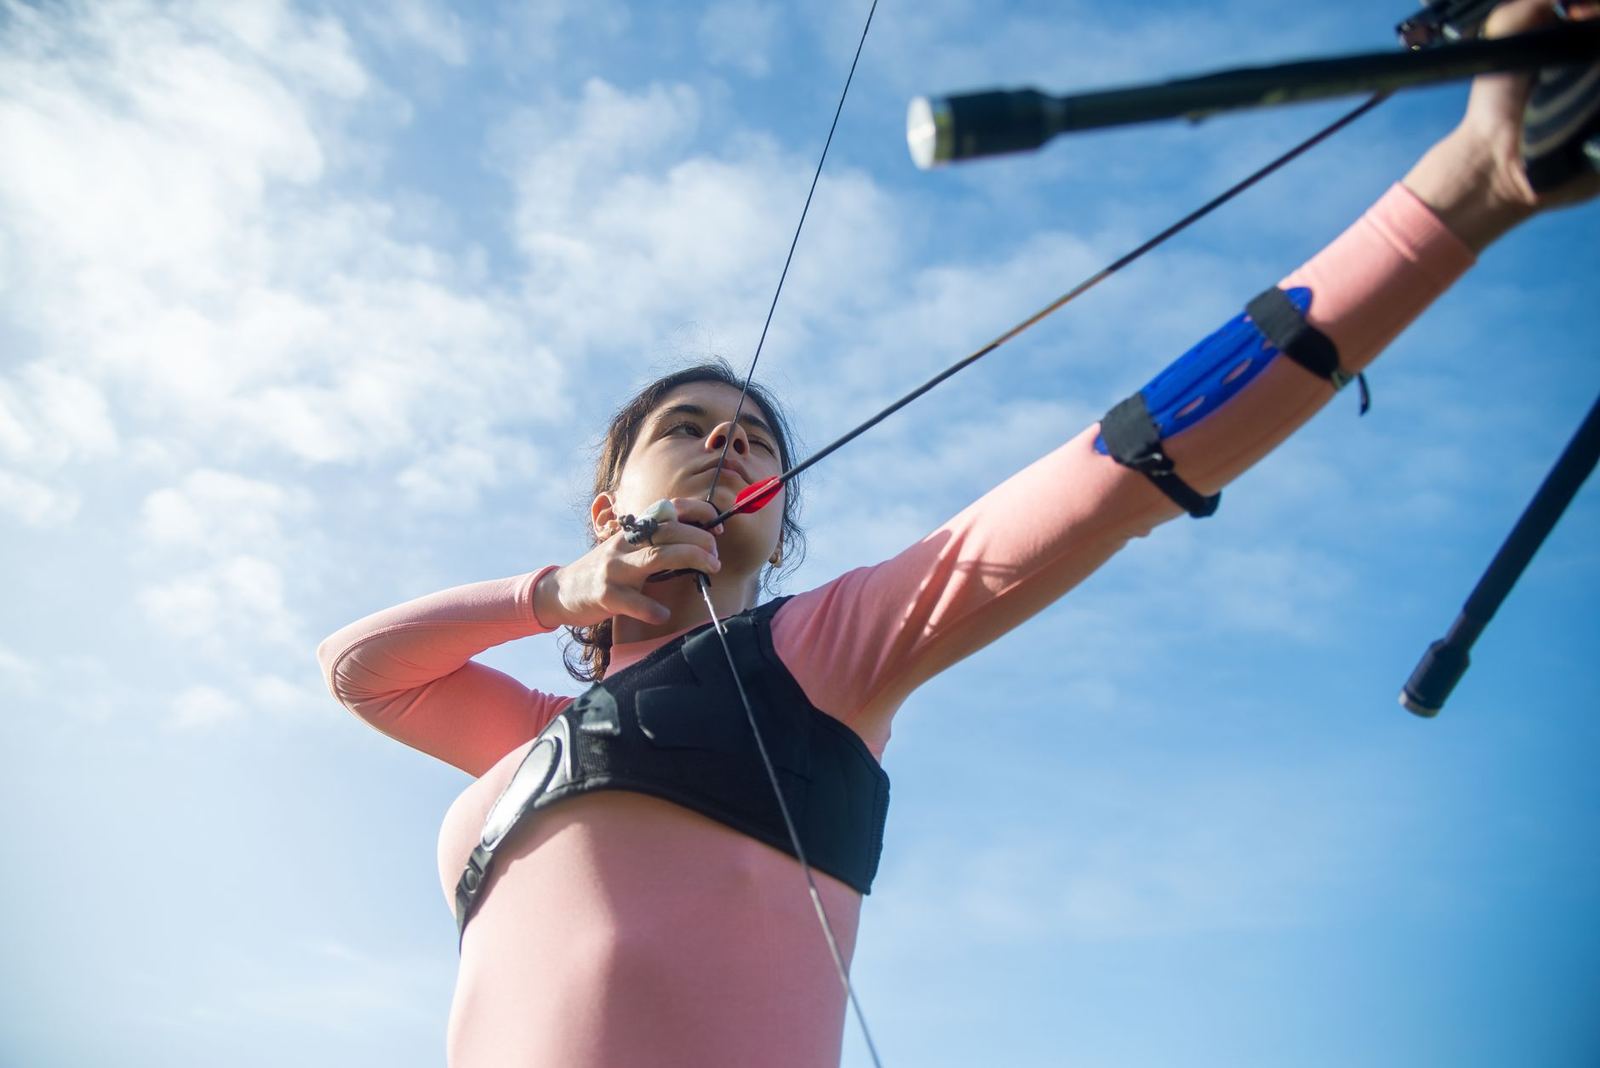
An anchor point is the place where your drawing hand and the string touch your face at full draw. Elite Archery pro Tyler Marlow defines anchor points as the places on the back end of the shot where your hand and the bow string make contact with your face. They can differ slightly from person to person.
Think of it as a rear sight. In a December 2018 Game & Fish interview, Guy Krueger, USA Archery’s education and training manager, said exactly that: your anchor point is your rear sight, and a small change can move where the arrow lands.
A steady anchor also keeps your body in one position. Legend Archery’s anchor guide says it helps you keep the same position and draw length, even under pressure.
The three contacts that make an anchor repeatable
Most people treat anchoring as one thing. Levi Morgan argues in Bowhunter that a repeatable anchor has three components.
- Release-to-hand contact: where the release or tab sits in your hand.
- Hand-to-face contact: where your hand meets your jaw or face.
- String-to-face contact: where the string touches you.
For the first, Morgan says you can change your draw length and whole form just by placing a handheld release differently in your hand. He suggests marking your spot with a marker or tape while you practise, then dropping the mark once the position feels automatic. The grip on the string or release is a skill of its own, and the guide to the archery release goes further.
For the second, he looks for a light pressure point along the jawbone. He found that more pressure on his face made the shot harder to execute. He also warns that a floating anchor with no contact leaves you unable to feel when you are anchored.
For the third, he suggests lightly touching the string to the tip of your nose, because the tip of your nose is always in the same place. Pressing on the string with your face, he says, hurts consistency.
Common anchor spots by bow style
There is no single correct location. ImproveYourArchery lists the cheekbone, under the jaw and the corner of the mouth as common anchor points. Which one suits you depends mostly on how you shoot.
- Traditional: the corner of the mouth is described as the most common anchor in traditional archery because it is so easy to feel. The cheekbone is another option for instinctive shooters.
- Recurve: the same guide says recurve archers anchor under the chin or jaw. The tip of the nose often works as a secondary check, but turning your head too much can let your nose interfere with the string on release.
- Compound: Archery360 says good anchors combine a hand bone on a face bone, the string on the nose tip, and the peep aligned with the sight housing.
Compound shooters can add gear to help. Whitetail Properties suggests a kisser button or nose button for extra anchor assistance, and says a ¼-inch peep aligns well with most moderate sights. One of its quoted specialists does not use either button, but says they are fine if they help you stay consistent (see the guide).
How do you find your anchor point?
Treat it as a short experiment, not a quick fix. Work through these steps in order.
- Check your draw length. Morgan says the correct draw length is crucial for anchoring comfortably. Whitetail Properties says being off ½ inch can cause significant issues, so measure before you set it (source). A smooth draw helps too, and the guide on how to draw a bow covers it.
- Try a few spots. ImproveYourArchery says the best way to find an anchor point is to try a few out. Legend Archery likewise advises experimenting to see which spot feels most comfortable and stable.
- Pick one hand contact and one string contact. For example, a knuckle on the jawbone and the string on the tip of your nose.
- Set your peep height. Marlow’s method is to draw with your eyes closed, then open them and adjust the peep until it lines up at a comfortable anchor (source).
- Repeat it until it is automatic. Legend Archery says repeated practice builds muscle memory, so the spot is easier to find even under pressure.
Give each choice a fair number of arrows before you change it. Constant switching makes it hard to tell what is working.
Keeping it consistent and spotting drift
Drift is usually quiet. Marlow notes that if your hand angle changes, the torque on the string or d-loop changes from shot to shot, so keep a consistent hand angle as well as a consistent spot (source).
A second reference point helps you catch mistakes. ImproveYourArchery says several anchor points give you extra references to stay consistent, and if you miss a slip at one, you may notice it at another. Just make sure none of them disturbs the string on release.
Krueger teaches archers to pick a comfortable, repeatable anchor and monitor it on every shot. He compares it to a bandaid where your hand meets your jaw, or a dot where the string meets your face, until the feel becomes second nature (source).
Watch for these common causes of drift:
- Mashing your hand into your face, or leaving it floating off your face.
- Pressing the string hard with your nose or cheek.
- Letting your jaw open. Compound archer Jessica Hortman says even a slightly open jaw can alter a solid anchor point (source).
- Peep height that is too high or too low, so your nose floats off the string or gets pushed in.
- Drifting to an unnatural anchor because it feels right in the moment. Teresa Wellner warns about this in the same Archery360 piece.
Frequently asked questions
Is there a right or wrong anchor point?
Show answer
Morgan says there is no right or wrong anchor, as long as you can repeat it from shot to shot. Pick the spot that fits your bow style and feels the same each time.
How hard should my hand press against my face?
Show answer
Lightly. Morgan touches his jaw very lightly and says more pressure made the shot harder to execute, while no contact at all leaves you unsure that you are anchored.
Do I need a kisser button or nose button?
Show answer
No. Whitetail Properties lists them as options for extra anchor assistance, and its quoted specialists say they are fine if they help you stay consistent. ImproveYourArchery notes compound archers often use a kisser as a secondary anchor.
Should a coach check my anchor?
Show answer
It can help. Archery360 says a coach can look at your form and equipment to make sure everything lines up, which is useful when you cannot see your own drift.